See arrow on the right Niiice. 2 rectangles of fabric 30x18 cm for the outer side of the cosmetic bag.
 How To Sew A Cosmetic Bag Free Tutorial Net
How to sew a large roomy comfortable and beautiful cosmetic bag-nessesser which will accommodate so many important things.
How to sew a cosmetic bag. Cut 2 pieces that are 9 12 inches by 10 inches from either fabric for inside. Now you need to stitch one side of zipper tape as shown. If you prefer to have your seams on the inside of the bag simply follow the same instructions as above but have the liner of your bag facing out then flip your bag right side out after step 10.
Do this for all pieces exterior and lining. The size of the finished bag is 18 cm by 18 cm by 7 cm. Use your EasyPress or iron and press your fabric making sure to push the push the seams out to get your bag nice and flat.
Start sewing this cosmetic bag with installing a zipper. I use a chopstick to push at the seams of the bag from the inside as I press. G lue interfacing - 2 pieces 30x18 cm Thread to match The zipper is at least 25 cm long.
Cut 2 pieces that are 9 12 inches by 6 inches from main fabric. Makeup Bag Sewing Instructions. This way any stains or leaks can be wiped away.
Press the 1 sections at the top of each piece on both sides to the wrong side by 14. Topstitch the fabric along the zipper to prevent getting it. It will give the cosmetic bag shape density and make it soft to the touch.
Also since vinyl is. And 2 of the same size rectangle for the lining. And to make your makeup bag water resistant consider using vinyl for the lining of your bag.
Materials that will be required for sewing a handbag. When you get to the zipper just sew straight over it as shown in the clip above. Using a 14 inch seam allowance sew up one side of the bag around the curve and down the other side of the bag.
Therefore it is necessary to remove an universal presser foot on sewing machine and set a special presser foot for sewing zippers. Cut 2 pieces that are 9 12 inches by 4 inches from coordinating fabric. 12 Press the fabric away from the zipper.
B The other end of the zipper comes out from the seam allowing the cosmetic bag to open wide. Again your scissors will cut right through it. A one end.
Cut two pieces of the outer fabric measuring 85 by 65 22 cm by 165 cm. Take the bottom open area of your bag right hand side of the below photo and fold the edges in by 12 inch leaving a finished edge. Cutting the fabric for your cosmetic bag To sew your cosmetic bag you need to have the following pieces of fabric ready.
Pin or clip the zipper face down against the top edge of one exterior piece - with the 1 sections at the top still pressed back. This is the easiest way to create square patchwork use the technique for totes quilts and cushion covers. This bag requires35 x 3 squares of fabric as m.
And if you do use vinyl remember to pin only within the seam allowance or use clips to hold your fabric together and use a leather needle in your sewing machine. Trim your zipper once youve sewn over it. Fold outer fabric side to.
Sew along the two sides of the bag using a ¼ seam allowance. The felt is hard 1-2 mm thick the cut is 45 cm by 55 cm. Coil zippers have nylon teeth and your needle will go right through it no problem.
The end of the zipper is tucked into the seam.
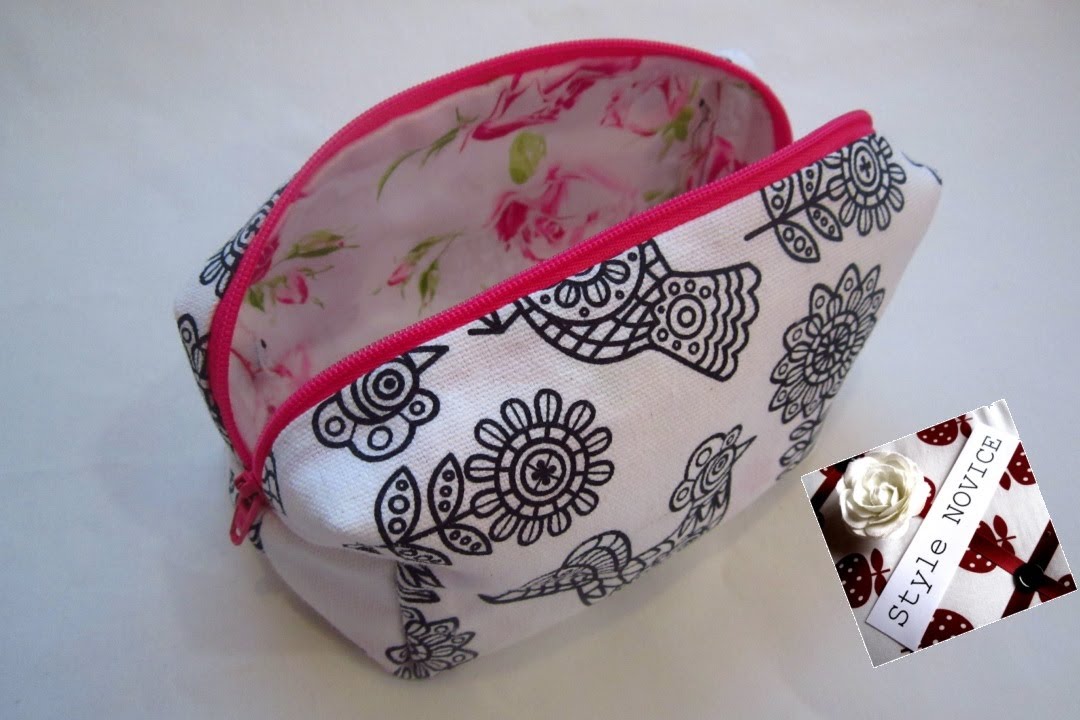
 Cosmetic Bag Tutorial Sew Like My Mom
 Cute Corners Diy Cosmetic Case Free Sewing Pattern Sewcanshe Free Sewing Patterns Tutorials
 Easy Cosmetics Bag Pattern So Sew Easy
Cute Corners Diy Cosmetic Case Free Sewing Pattern Sewcanshe Free Sewing Patterns Tutorials
 Diy Cosmetic Zipper Pouch Weallsew
 Free Sewing Pattern Easy Cosmetics Bag I Sew Free Cosmetic Bag Pattern Cosmetic Bags Diy Sewing Patterns Free
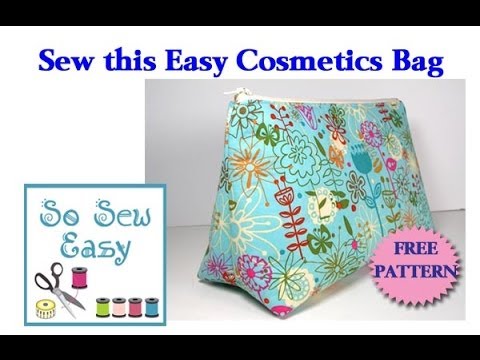 Sew An Easy Cosmetics Bag Youtube
 Step By Step Sewing Diy Make Up Bag Youtube

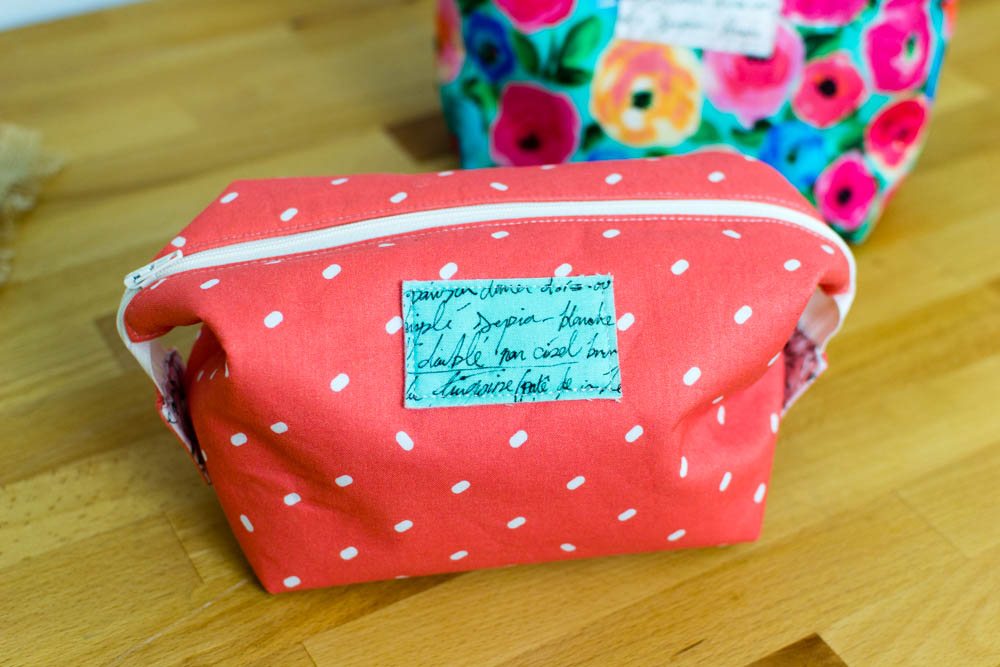
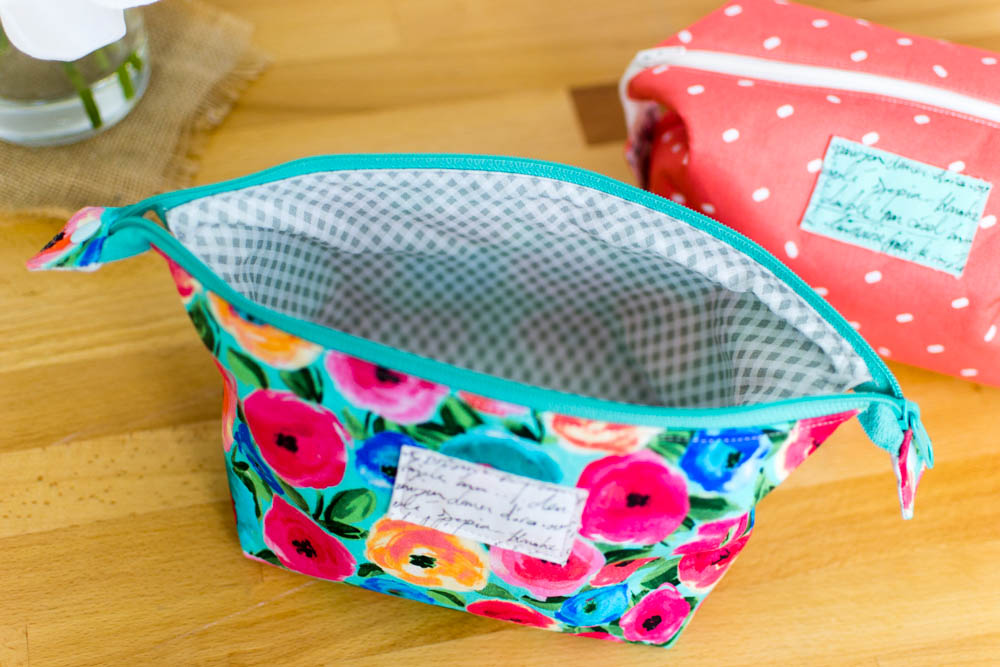
 Boxy Cosmetic Bag Free Sewing Tutorial Cosmetic Bag Tutorial Sewing Bag Sewing Projects
 Pin On Stuff To Sew
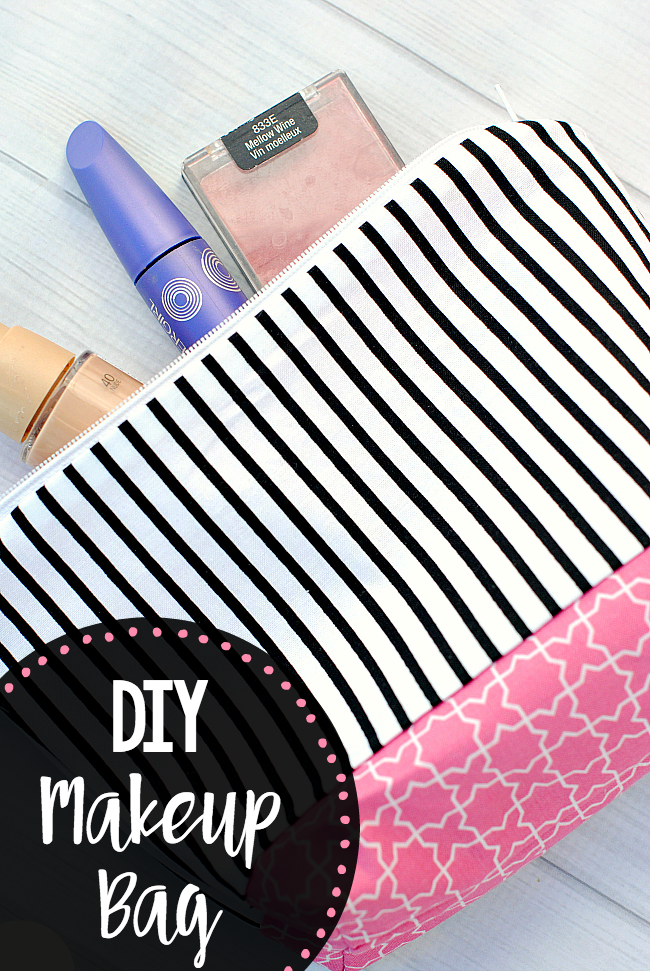 Diy Makeup Bag Pattern Crazy Little Projects
 Pin On Quilts And Quilting
Comments
Post a Comment